action vfx december 2025 challenge
Objectives
In December 2025, Danilo de Lucio showed me the Action VFX Challenge. It was a great opportunity to try Houdini in my free time.
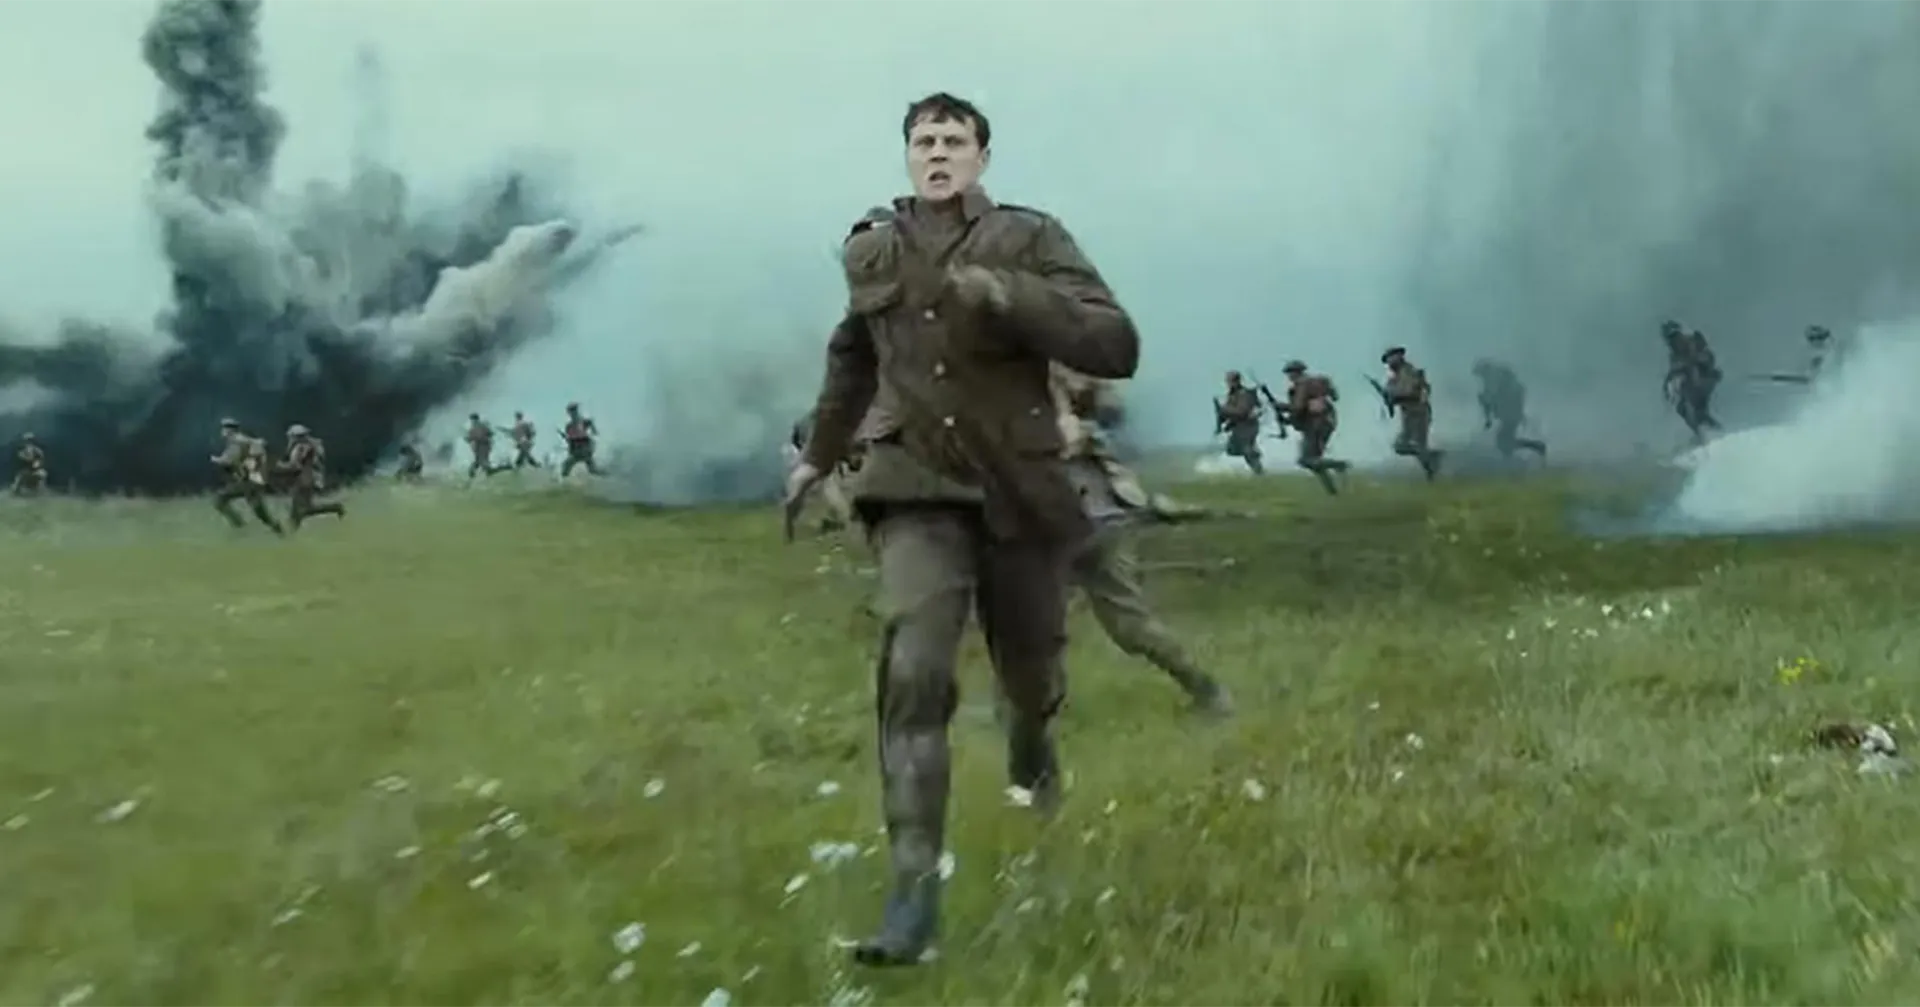
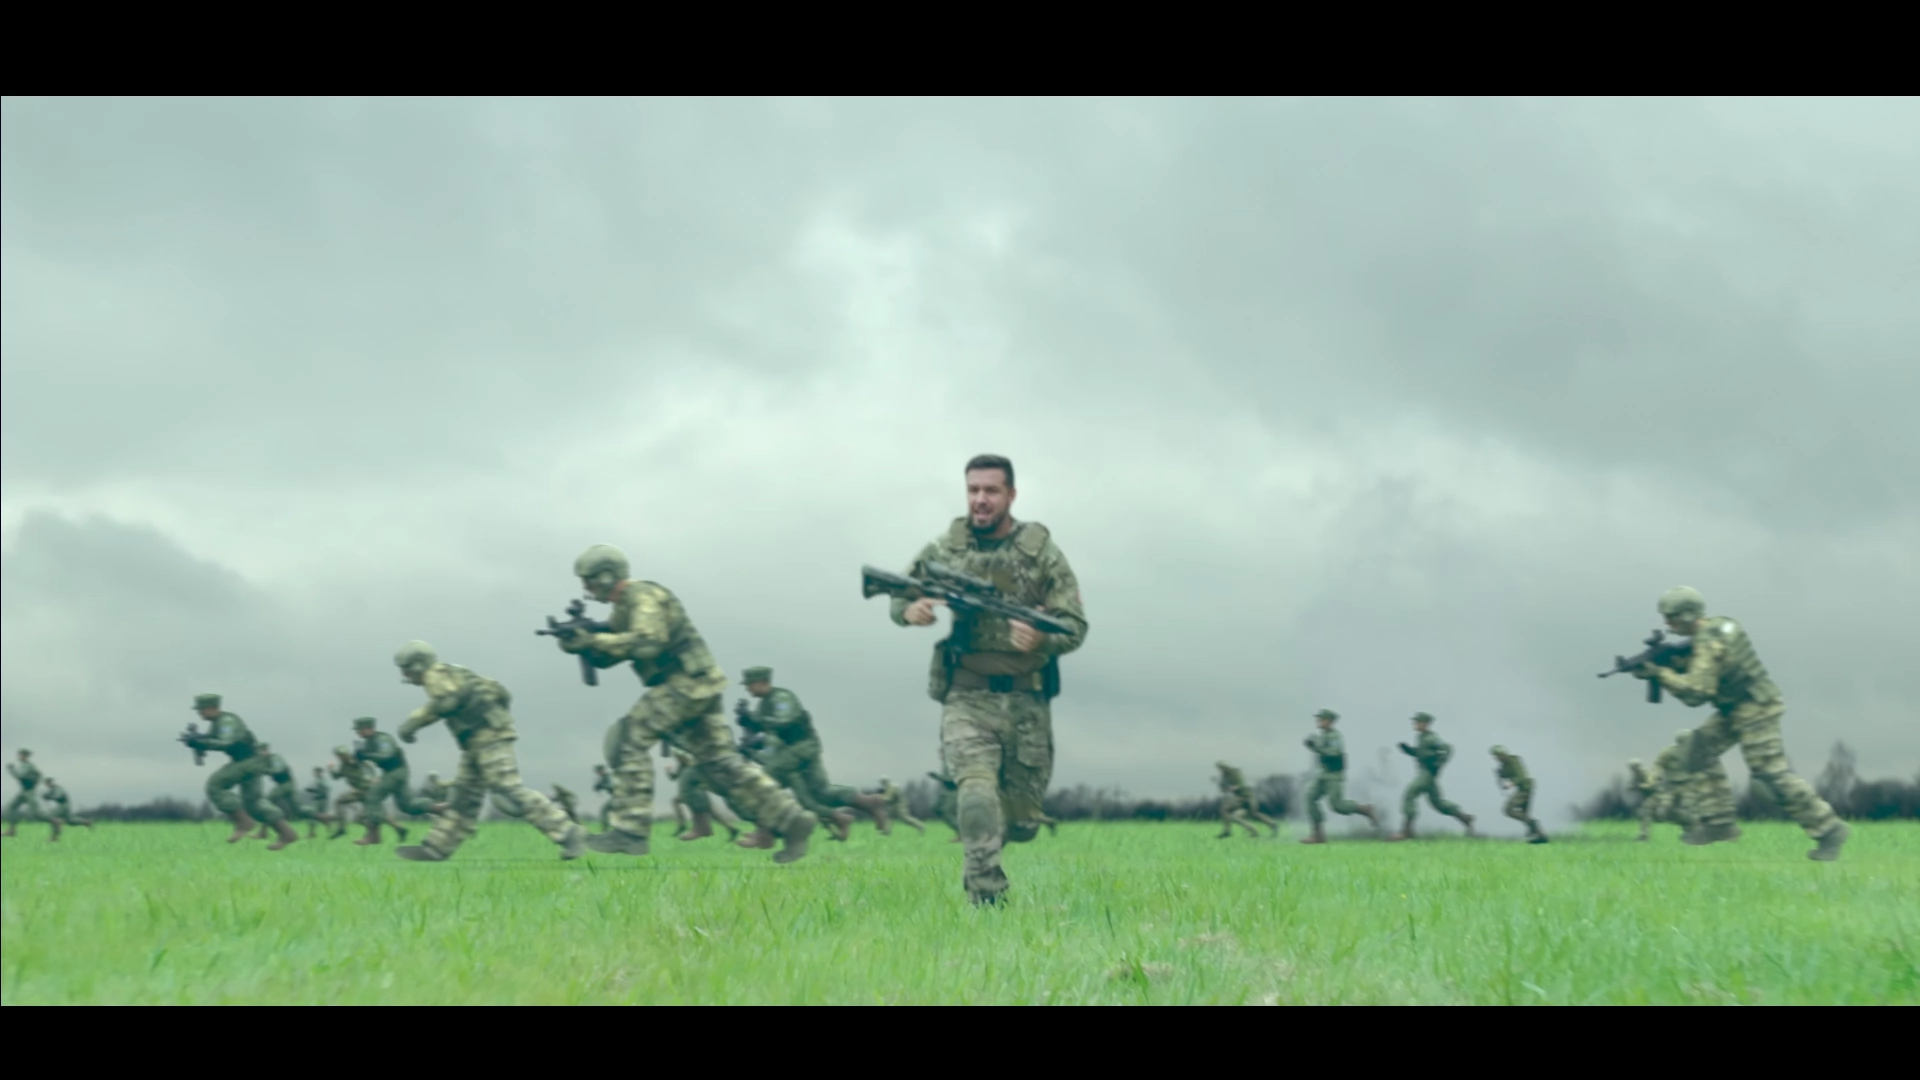
From the available shots, I chose the Soldier Running Through Field for its resemblance with the iconic running sequence from Sam Mendes's 1917. It inspired me to create a similar scene, challenging myself to do so in 10 days without any practical knowledge of Houdini.

3D tracking
In order to create the shot camera, I used 3D Equalizer for the 3D tracking.
Set Extension
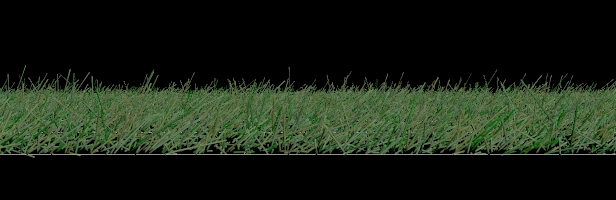
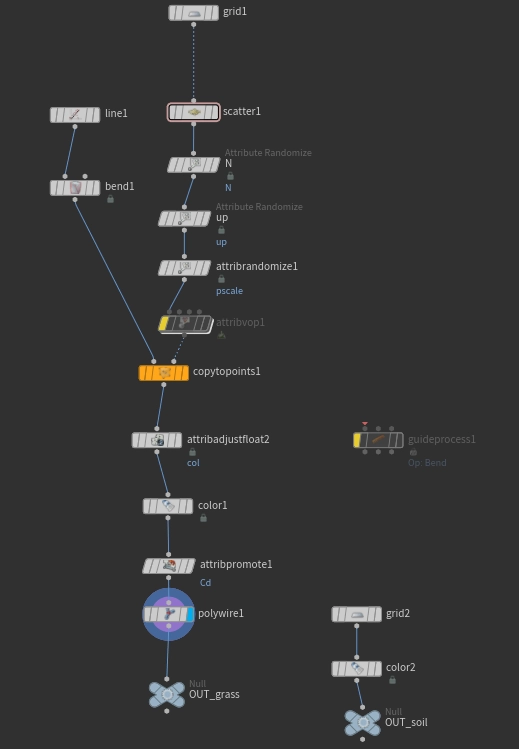
In Houdini, the starting point was the procedural grass scattering. The camera angle allowed a lighter scatter density, using a base plane to fill the gaps rather than rendering millions of individual blades.

Crowd Simulation
For the crowd, I chose a M4 Colt model, and three different soldiers. I modified their textures's hue in Photoshop to match actor.
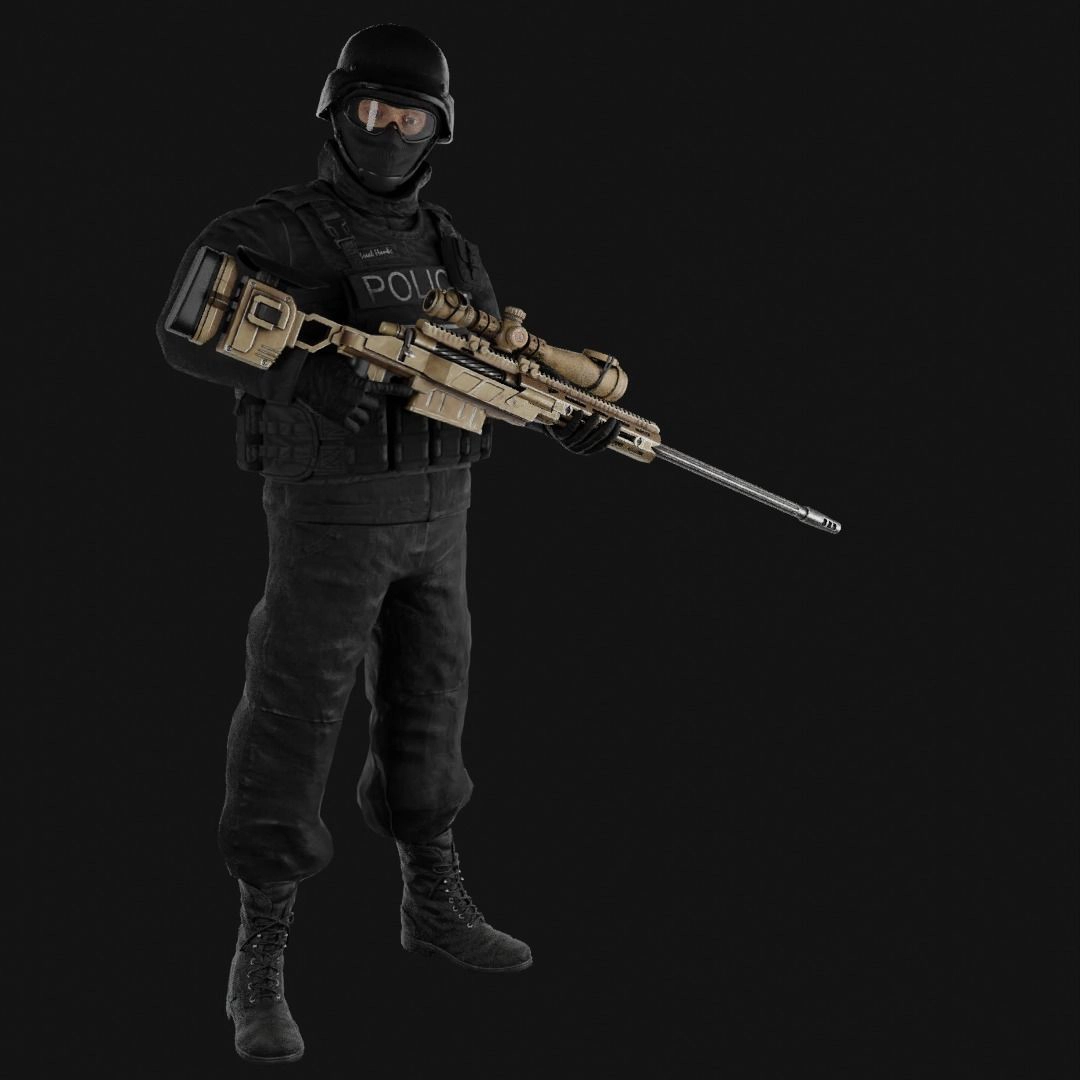
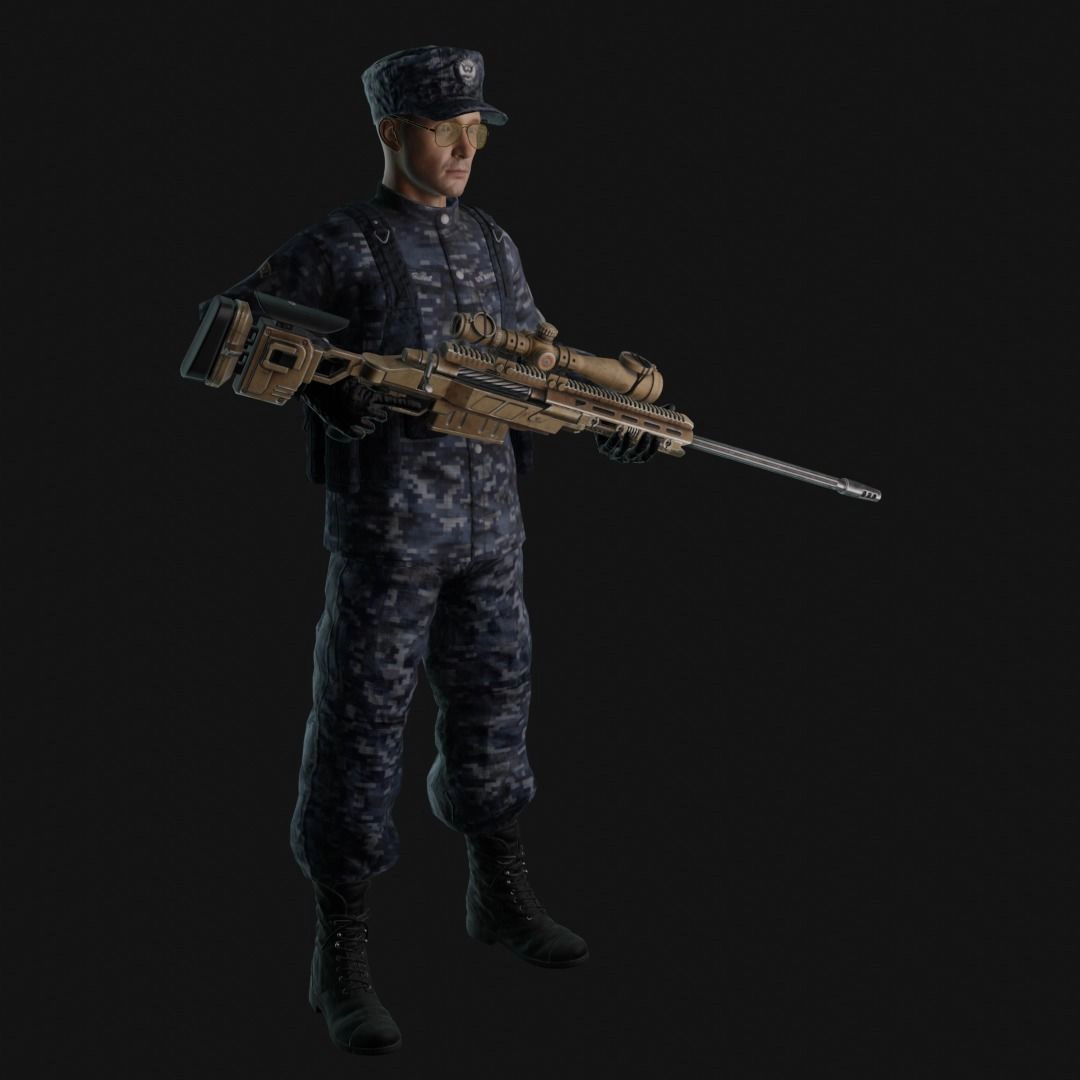
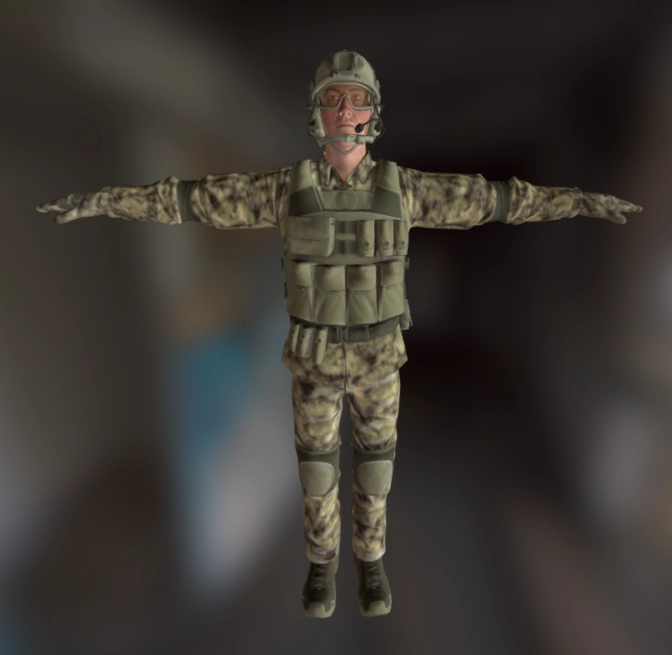

I loaded them into Mixamo and applied different variations of running animations: sprint, fast run, standard run, running with a rifle, and running injured.
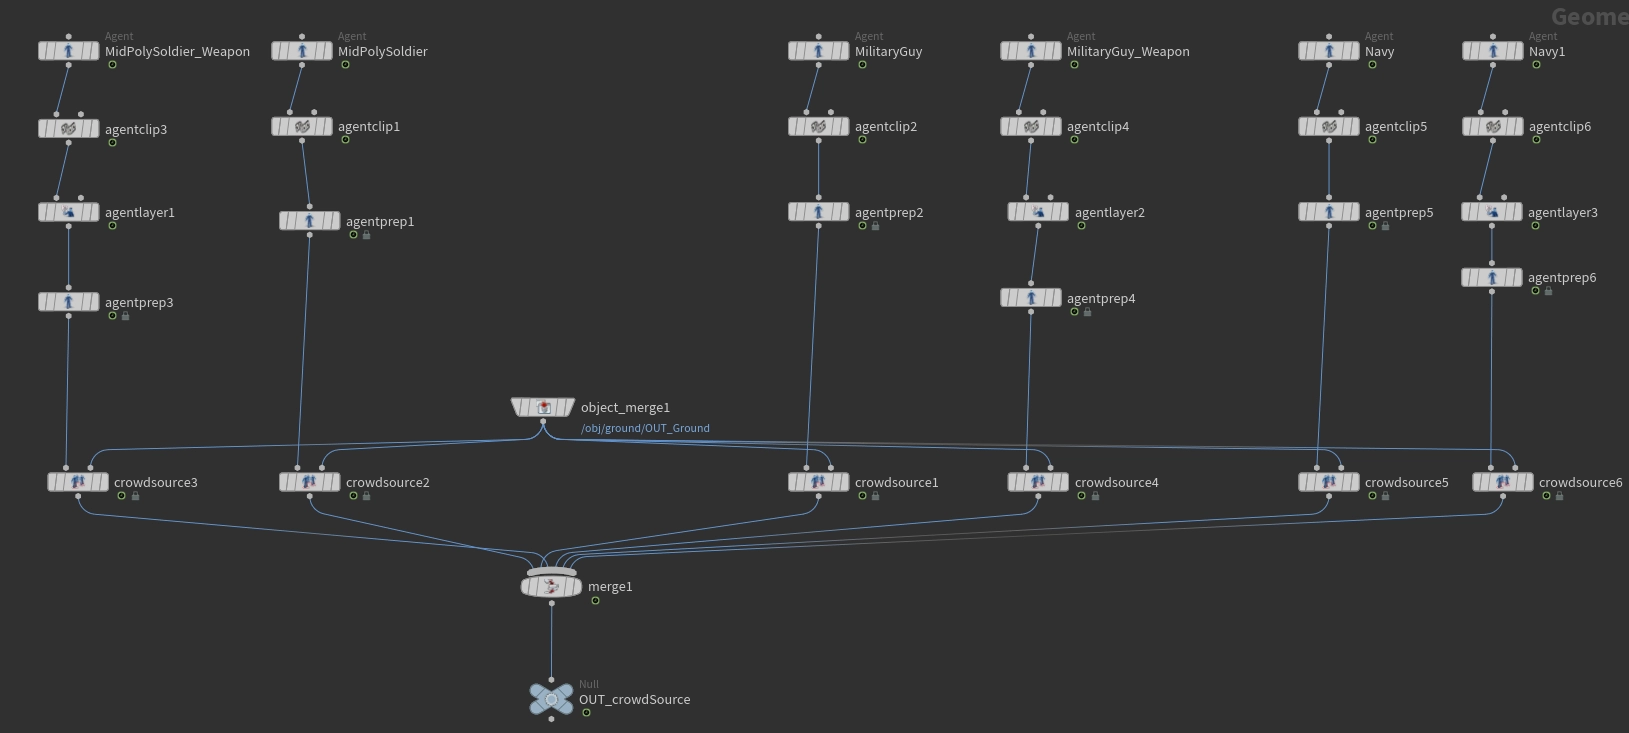
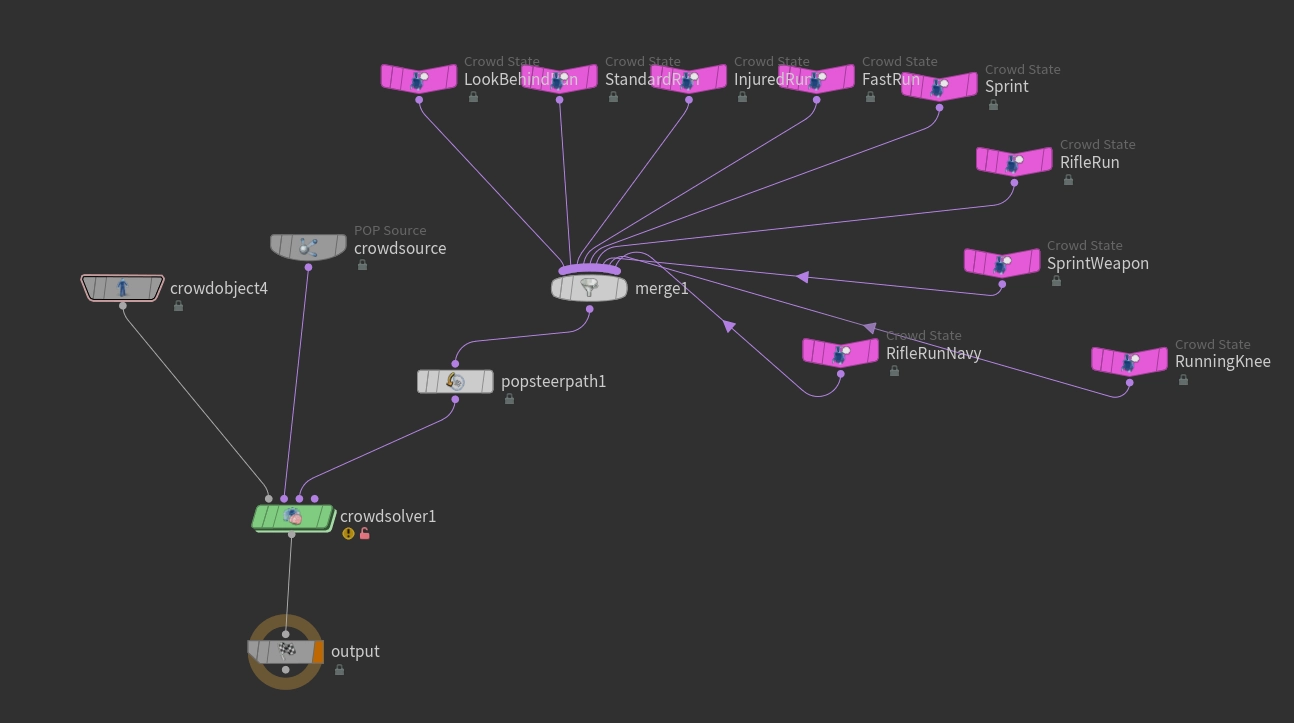
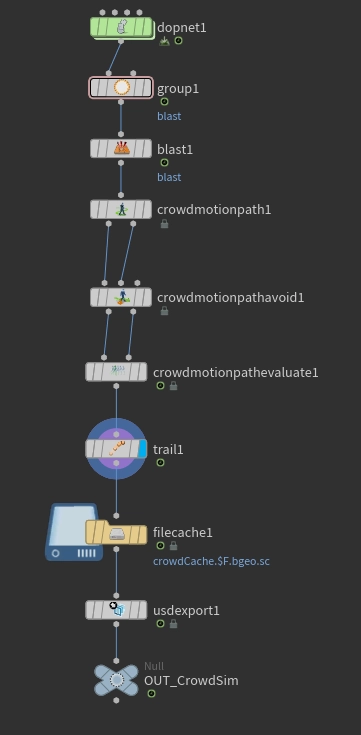
In Houdini, I developed the crowd simulation. I started by creating different Crowd Sources for each agent, since their rigs were not the same. Then I set an Agent Layer for the weapon and created Crowd States for each animation.
Some agents were running too close to the camera, covering too much of the shot. To remove them, I added their point numbers to a group, then input this information into a blast node to remove them.
Another challenge I encountered was to make the agents steer their path instead of colliding into each other. To solve this, I used the Crowd Motion Path.
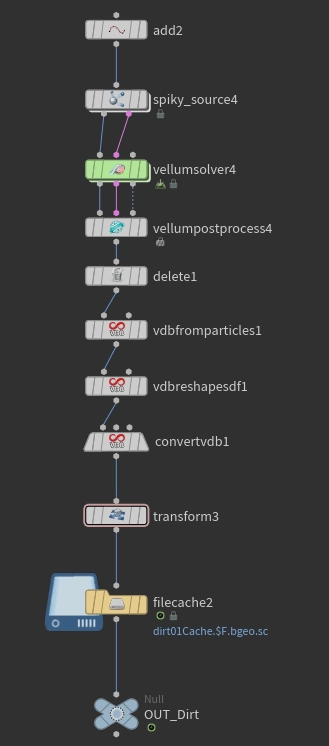
Explosions & Debris
As a starting point, I used the spikysource HDA and Pyro source Volume by SipposAttila on GitHub (no longer available). I aimed for two explosions with lower temperature, producing plenty of smoke and almost no fire to resemble the artillery shells of the 1917 sequence.
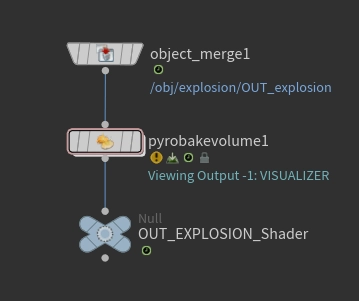
I connected their outputs to a Pyro Bake Volume node to be loaded into Solaris.
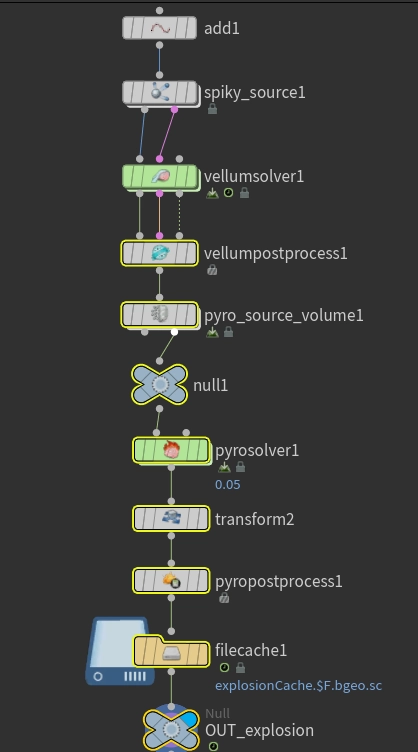
To create the debris, I duplicated the explosion's Node Graph to inherit its trajectory and shape. By converting the output into particles, I simulated the earth being displaced by the blast, settling over the grass to provide a sense of lasting impact.
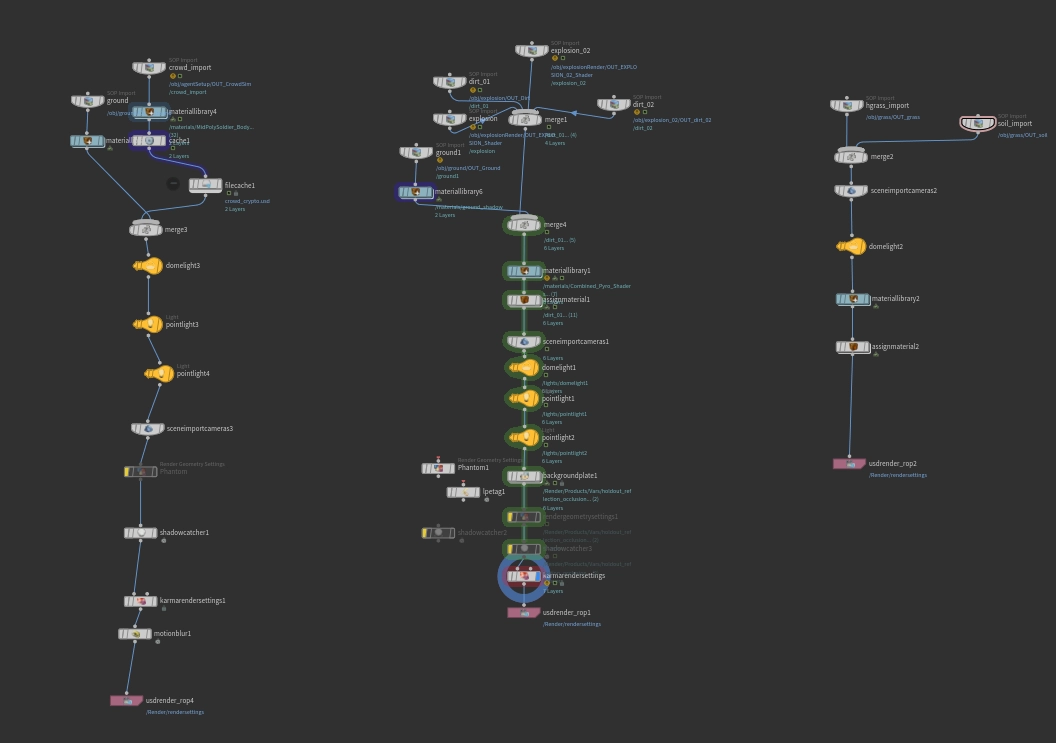
Solaris & Karma
Lookdev was done in Solaris with Material Library and USD MaterialX Builder.
Lighting consisted of an overcast HDRI and spot lights synced to the beginning of each explosion to mimic the detonation.
Due to limited time for further research into render layers, I did a node graph for each layer I would render if it were in Maya: one for the explosions, one for the crowd, and one for the grass.
Render was done in Karma CPU, using USD Render ROP and balancing quality with performance, since I wasn't using a render farm.
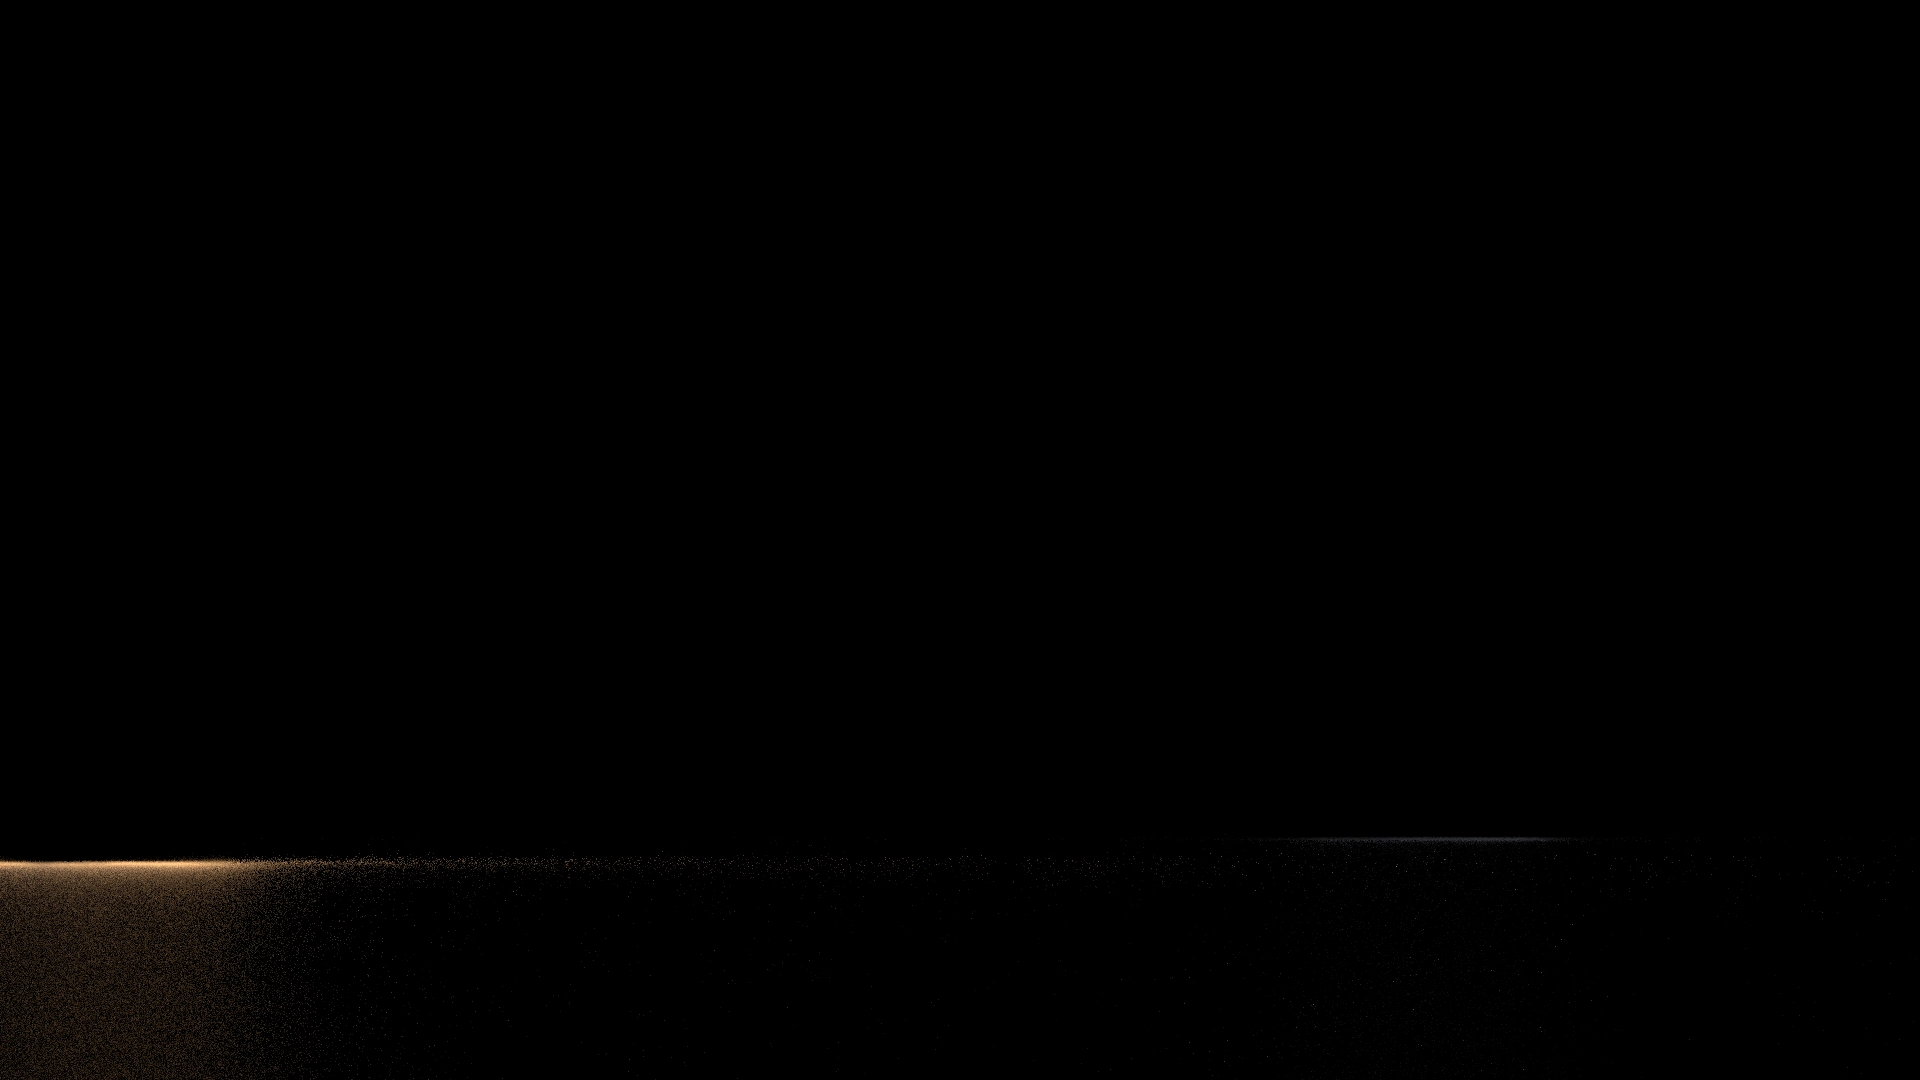
Light Catcher
After setting a shadow catcher, I attempted to capture the explosion's light on the ground while keeping the geometry hidden (mimicking a Maya Primary Visibility workflow), but I couldn't get the light to render onto an invisible surface as intended.
To fix the light catcher issue, I used a Background Plate node to treat the footage as a physical element within the scene. By tweaking the shader parameters to make the ground reflective, I isolated the explosion’s light in a Holdout Reflection AOV to be used in comp.


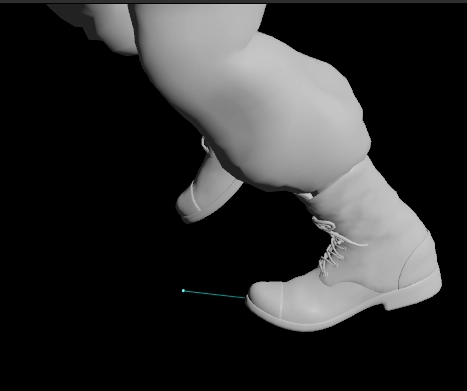
Motion Blur
I attempted to implement motion blur at the geometry level using a Trail node, but encountered a limitation with the crowd system. Since Houdini treats agents as packed primitives, the node only calculated velocity for the root pivot point, resulting in no motion blur for the limb deformations. I wasn't able to resolve this point-velocity issue within the current available deadline, thus deciding to solve this in comp.
Roto & Comp
I performed the rotoscoping in After Effects using RotoBrush, then moved to Nuke for the final integration. This included a sky replacement via 2D tracking and compositing the 3D renders with added camera shake and motion blur. I’d like to credit Danilo de Lucio for his technical guidance throughout the compositing phase, which helped bridge my 3D workflow with the final 2D output.